Comparing Text Files for Patching
Patch files offer a compact and convenient way to share a set of proposed modifications to one or more files. Merge offers a variant of the standard two-way text comparison that provides a flexible toolkit for reviewing the changes described by a patch file and selectively applying them to a text file.
Merge supports text-based patch files created by commonly used tools such as git diff, git format-patch, hg diff, and diff -u. It also works with unified-format diff files, whether created by Merge itself or other tools. Merge does not currently support the application of binary patches, file renames, or file attribute (access control) changes.
The file being patched need not be identical to the original file from which the patch was created; Merge uses a variety of techniques to determine the best potential location for each hunk (proposed change) in a patch file.
Even though the typical use of the patching tools offered by Merge is to apply a patch to an original (unpatched) file, the tools are sufficiently comprehensive for you to start with a patched text file and work backwards, selectively removing the changes described by a patch.
Opening a text comparison for patching
To open a new text comparison for patching:
- Choose the New text comparison for patching
 item in the drop-down menu of the leftmost ribbon item.
 - Or, press CtrlShiftAltT.
The screenshot below shows a new, empty text comparison for patching tab.
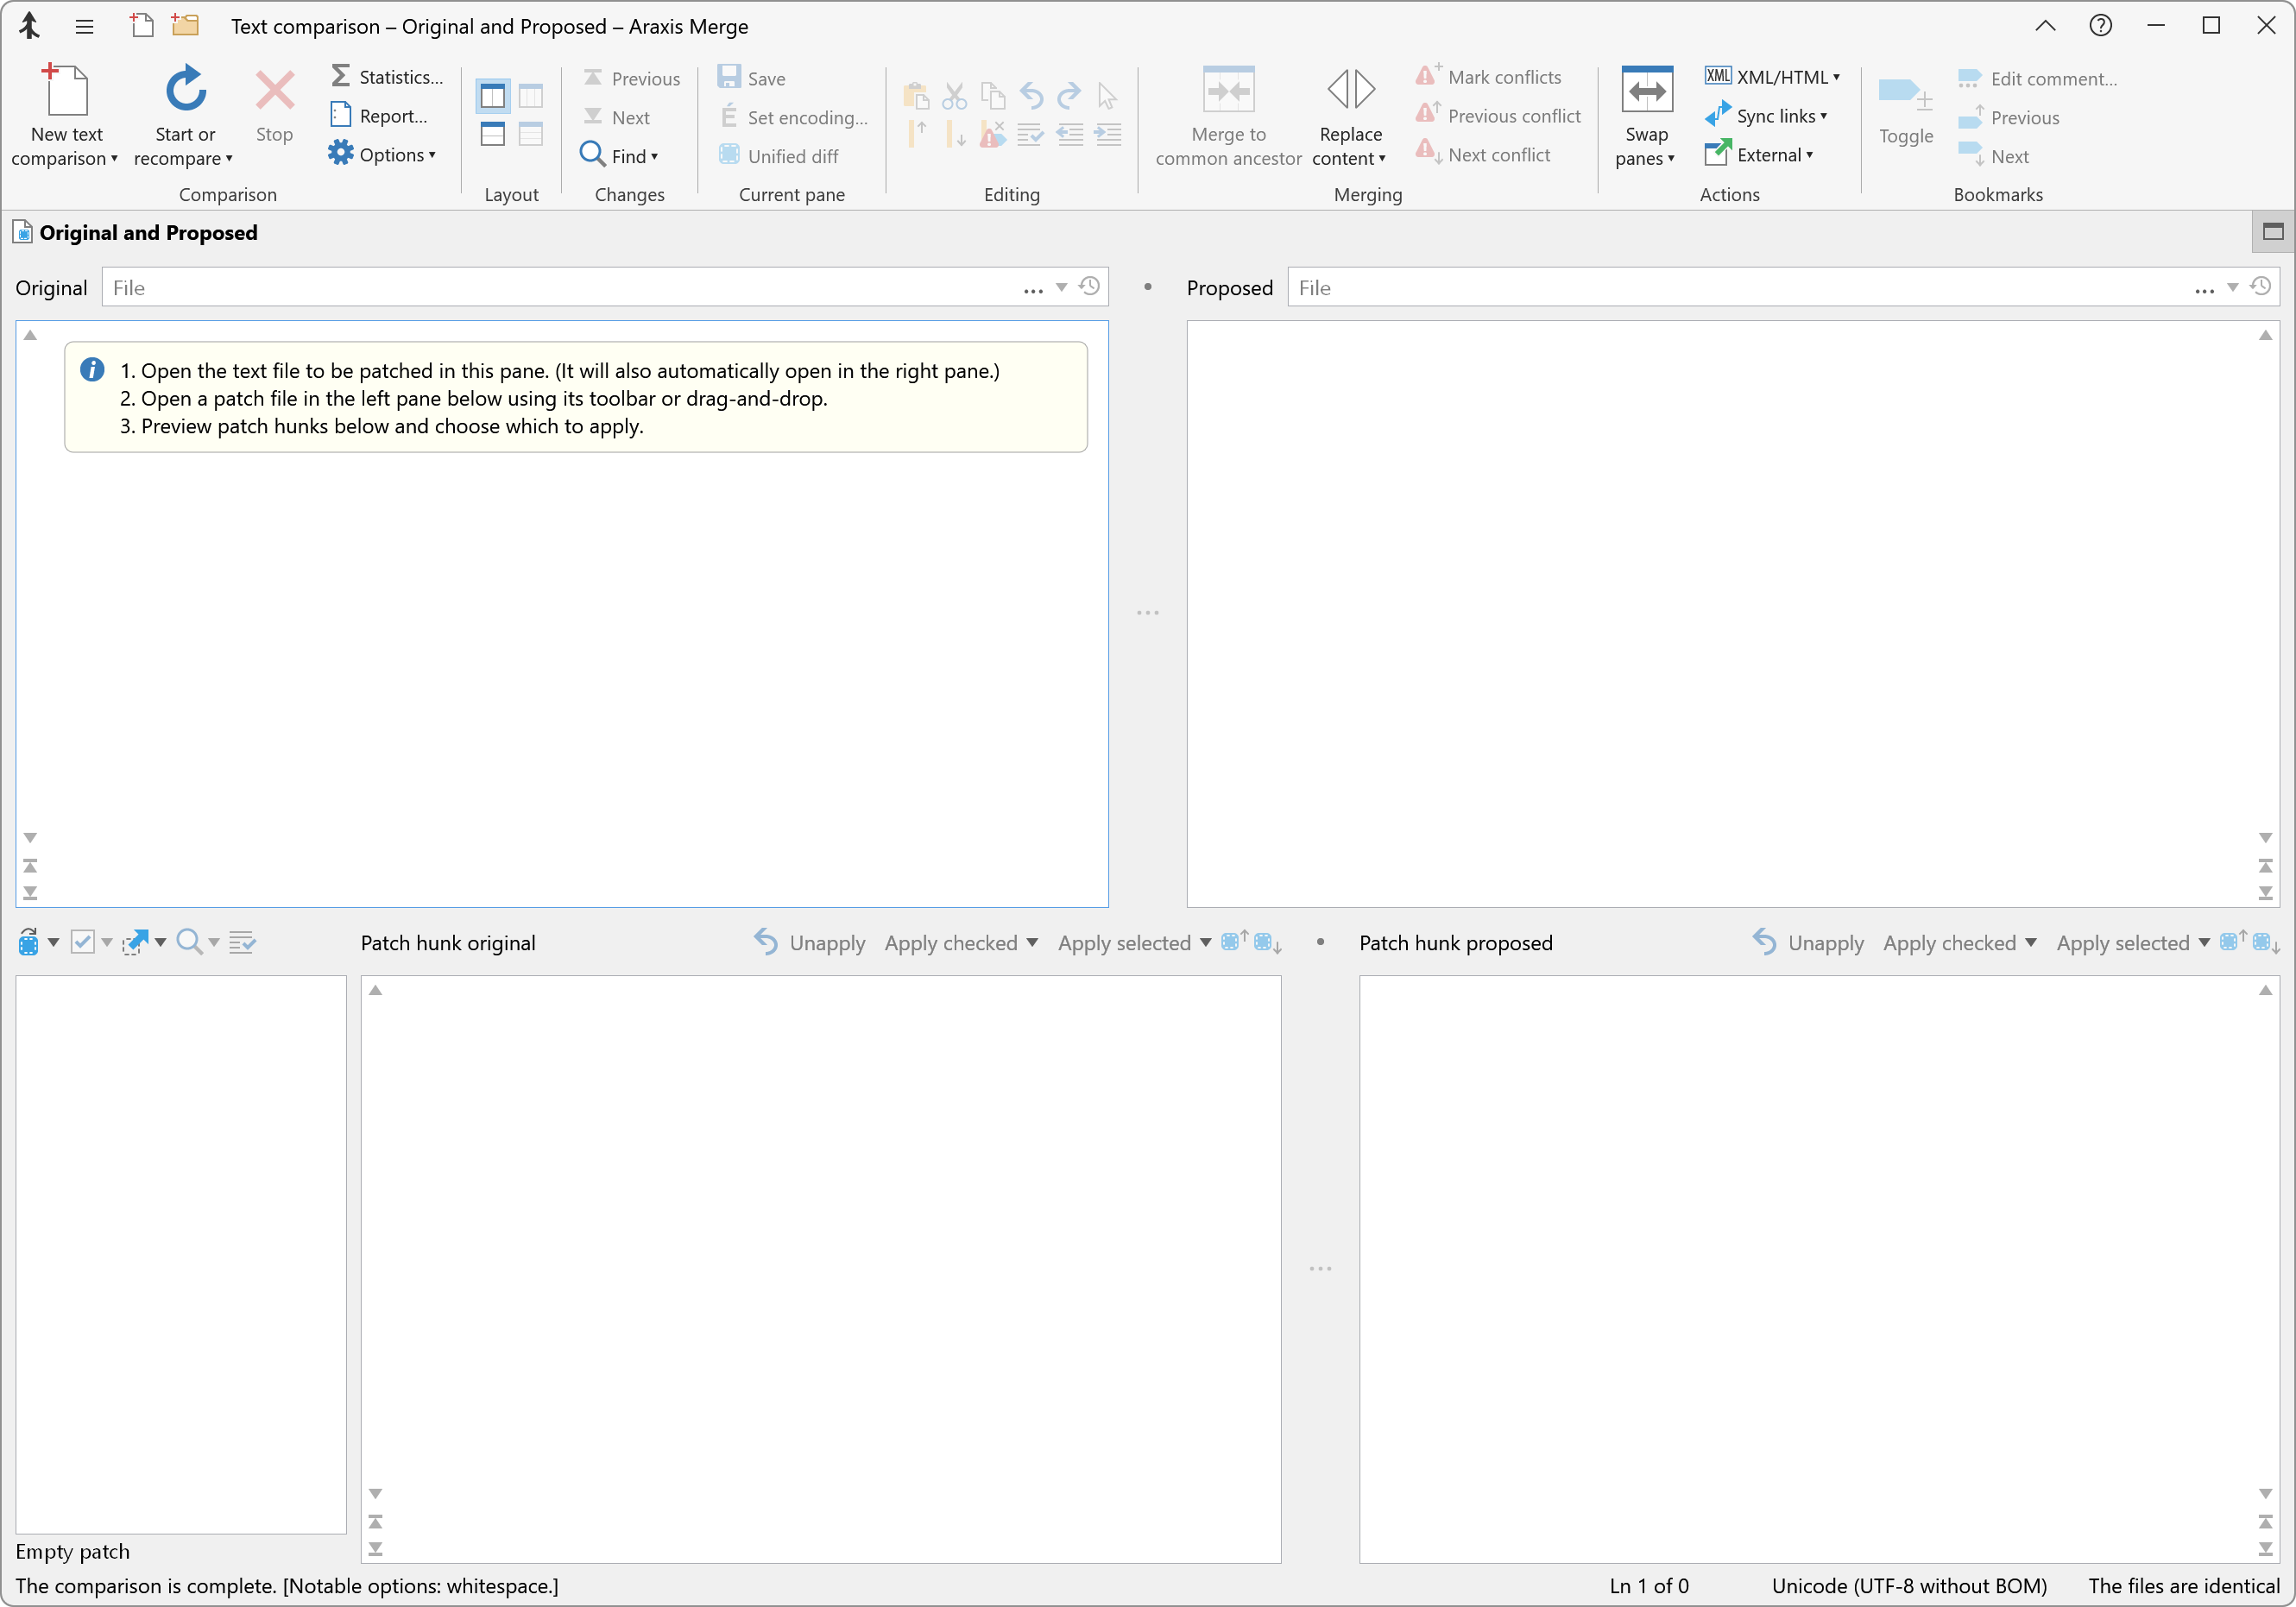
The upper portion of the display looks like a normal two-way text comparison, though the left and right comparison panels are labelled Original and Proposed, respectively.
Load the file that you wish to patch into the Original (left) panel in the usual way, as you would for a two-way text comparison. Unlike a normal text comparison, the file is also automatically loaded into the Proposed (right) pane, as shown in the screenshot below.
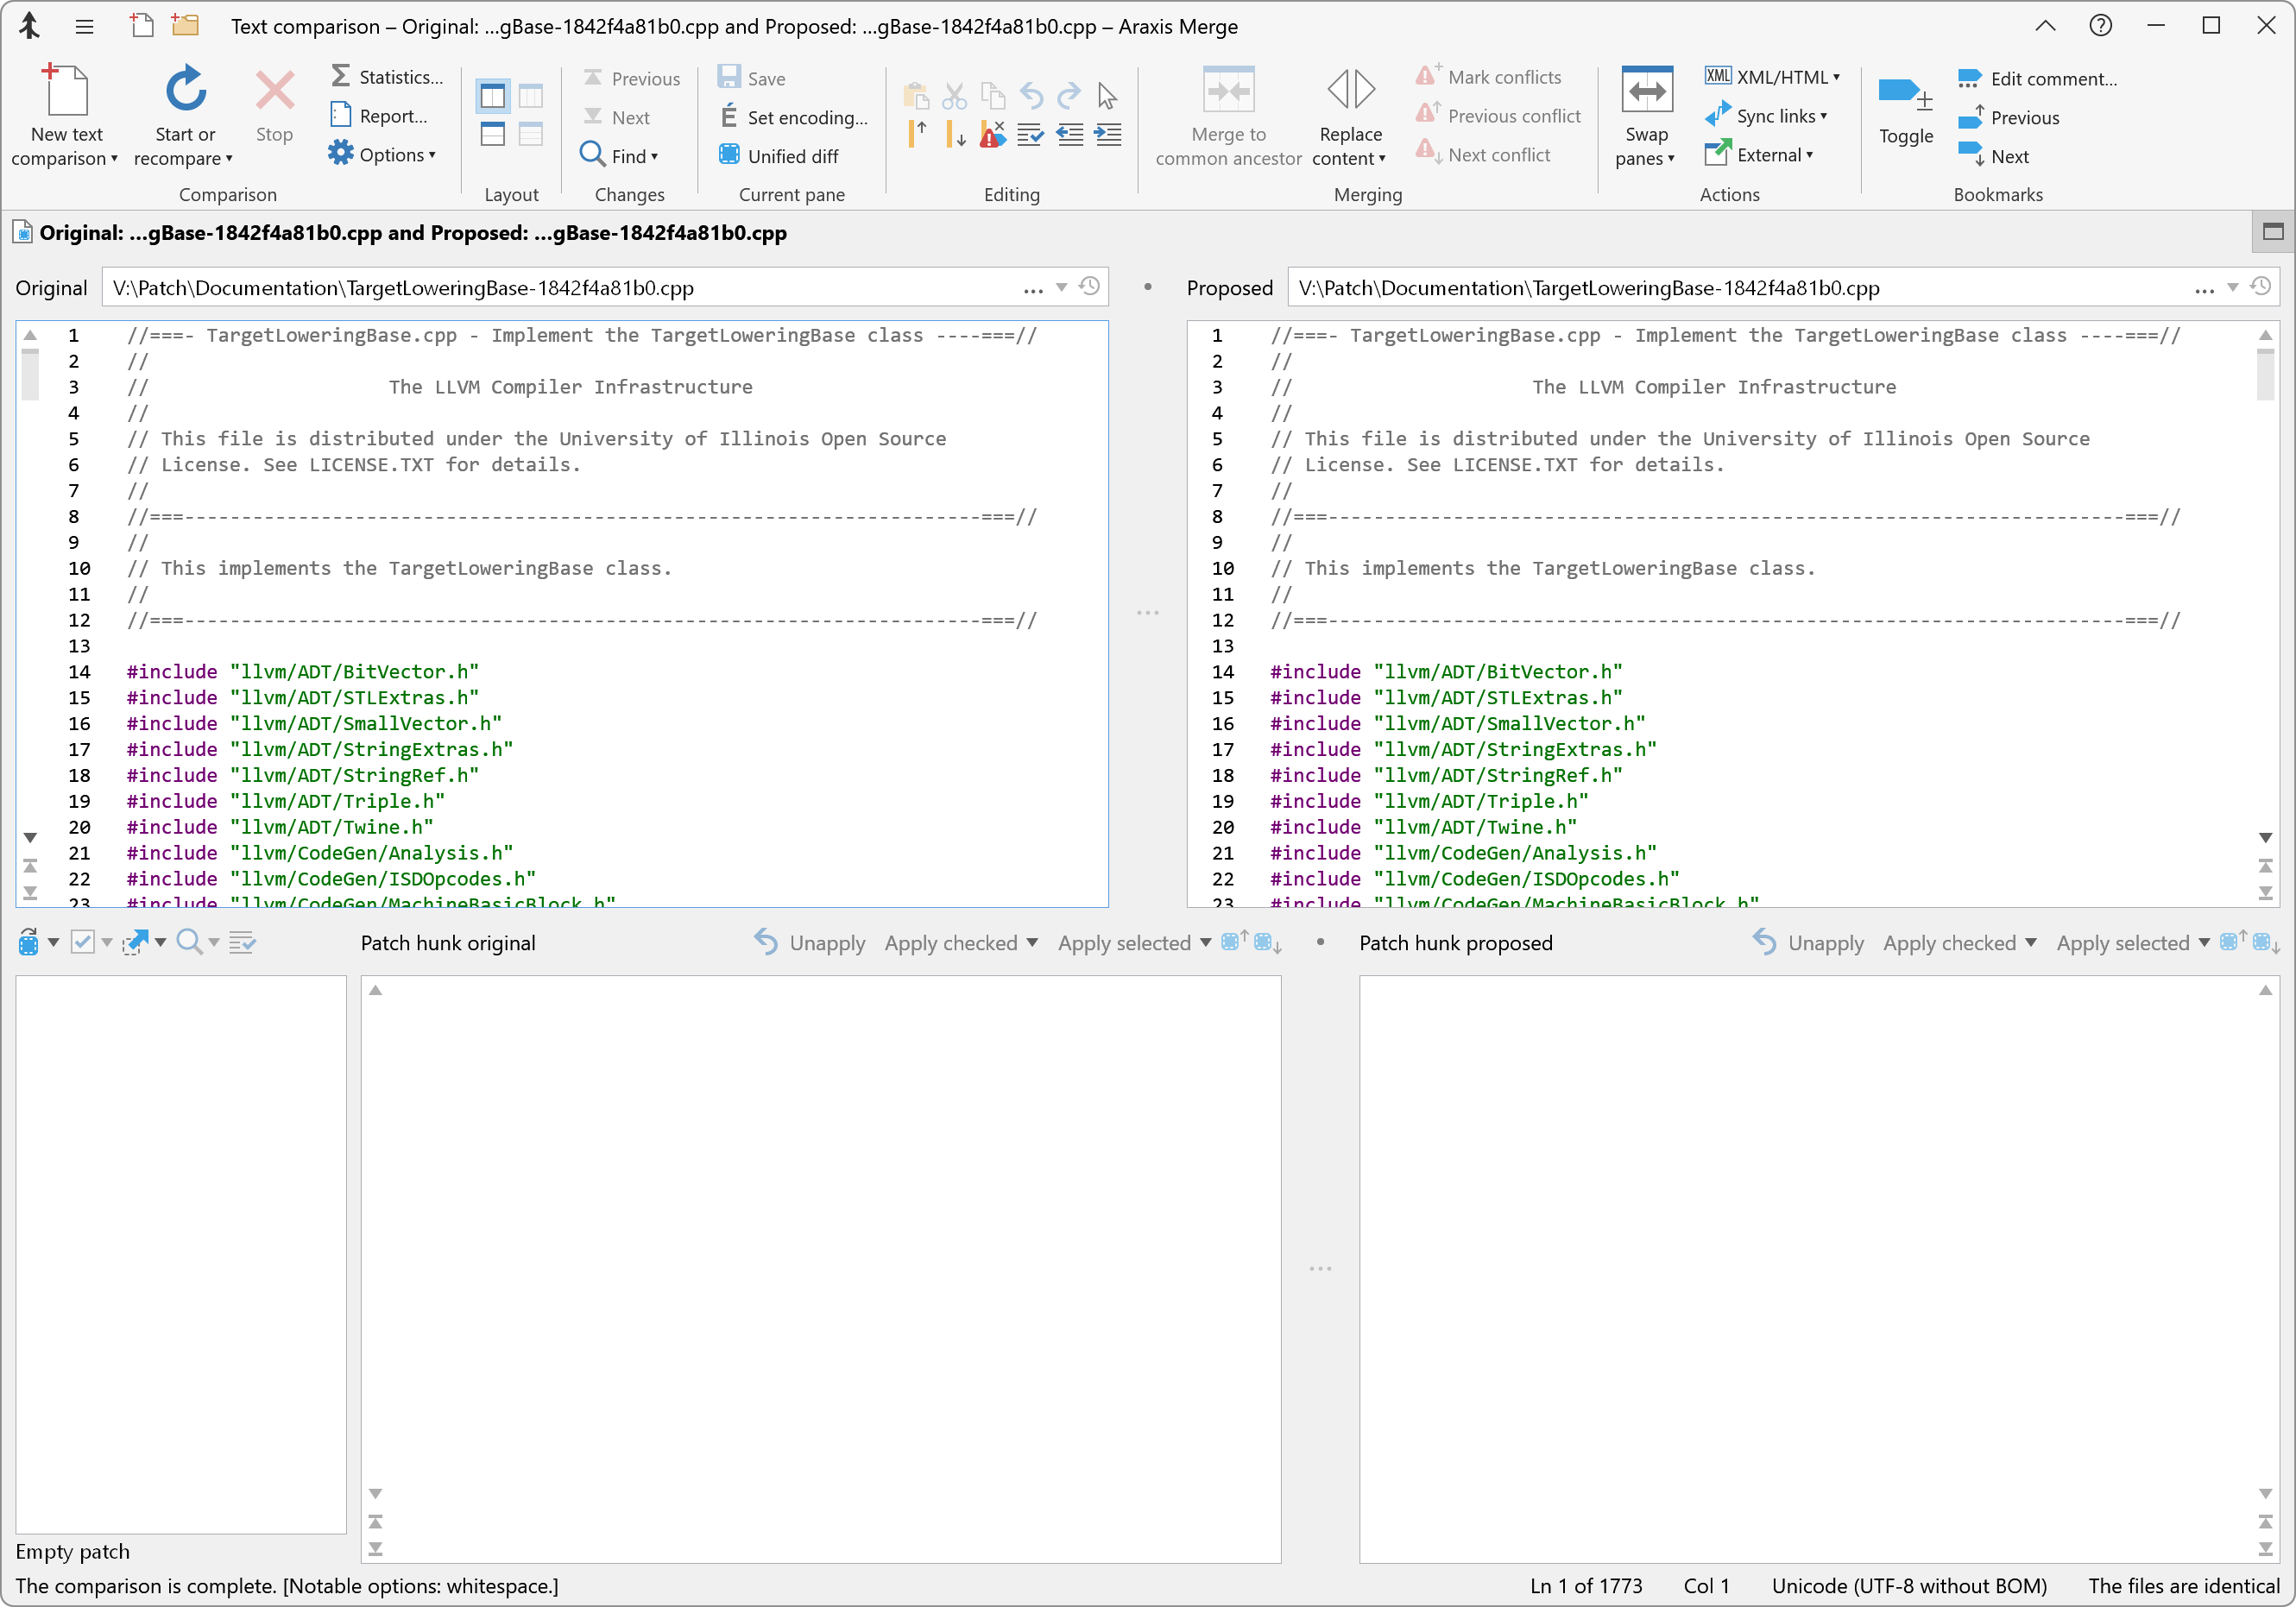
The automatic loading of the file into the second pane only occurs when you first open a file in an empty text-comparison-for-patching view. You can subsequently open a different file in the Proposed pane if you wish.
The Merge patching tools are designed primarily with the expectation that you will work with the Proposed file, applying patches (and any other edits you wish to make) to that file, all the while being able to compare your work against the Original, unmodified version of the file that you are patching. Note, however, that Merge also provides tools for applying changes to the original file, and both files are fully editable; you can therefore work in the way that best suits you.
The text comparison Show only # lines of context around changes option does not apply to the Original and Proposed files. This is because both files usually start with the same content, and the locations where patch hunks would be applied (see below) need to be visible. The usual monitoring of external modifications made to these files is also disabled because the original and proposed files are typically opened from the same file.
Opening a patch file
Having opened the text file that you wish to patch, the next step is to open a patch file. There are three ways to do this:
- Drag-and-drop a patch file on to the leftmost pane of the bottom three panes in the text-comparison-for-patching tab.
- Browse for a patch file using the Open patch file…
 item in the toolbar immediately above the lower, leftmost pane.
 - Copy the contents of a patch file to the clipboard (perhaps from a patch sent to you via email), then choose the Open (paste) patch file from clipboard item available from the Open patch file… toolbar item’s drop-down menu.
A single patch file may contain patches for many different files. If you open such a patch file, Merge asks you to choose which patch to use. If possible, Merge preselects the most likely patch based upon the names of the files loaded in the Original and Proposed panes. This automatic preselection is the reason why it is generally preferable to open the text file to be patched before the patch file itself. You can, however, open the patch file first if you prefer.
If you have opened a patch from a file containing multiple patches, you can use the Open patch file… ![]() toolbar menu Select patch… item to select a different patch without having to open the patch file again.
toolbar menu Select patch… item to select a different patch without having to open the patch file again.
Hunks
Understanding hunks
Each of the individual changes described by a patch file is called a hunk. Once a patch file has been opened, the leftmost, lower pane shows a list of each of the hunks contained in the patch file, as shown in the screenshot below.
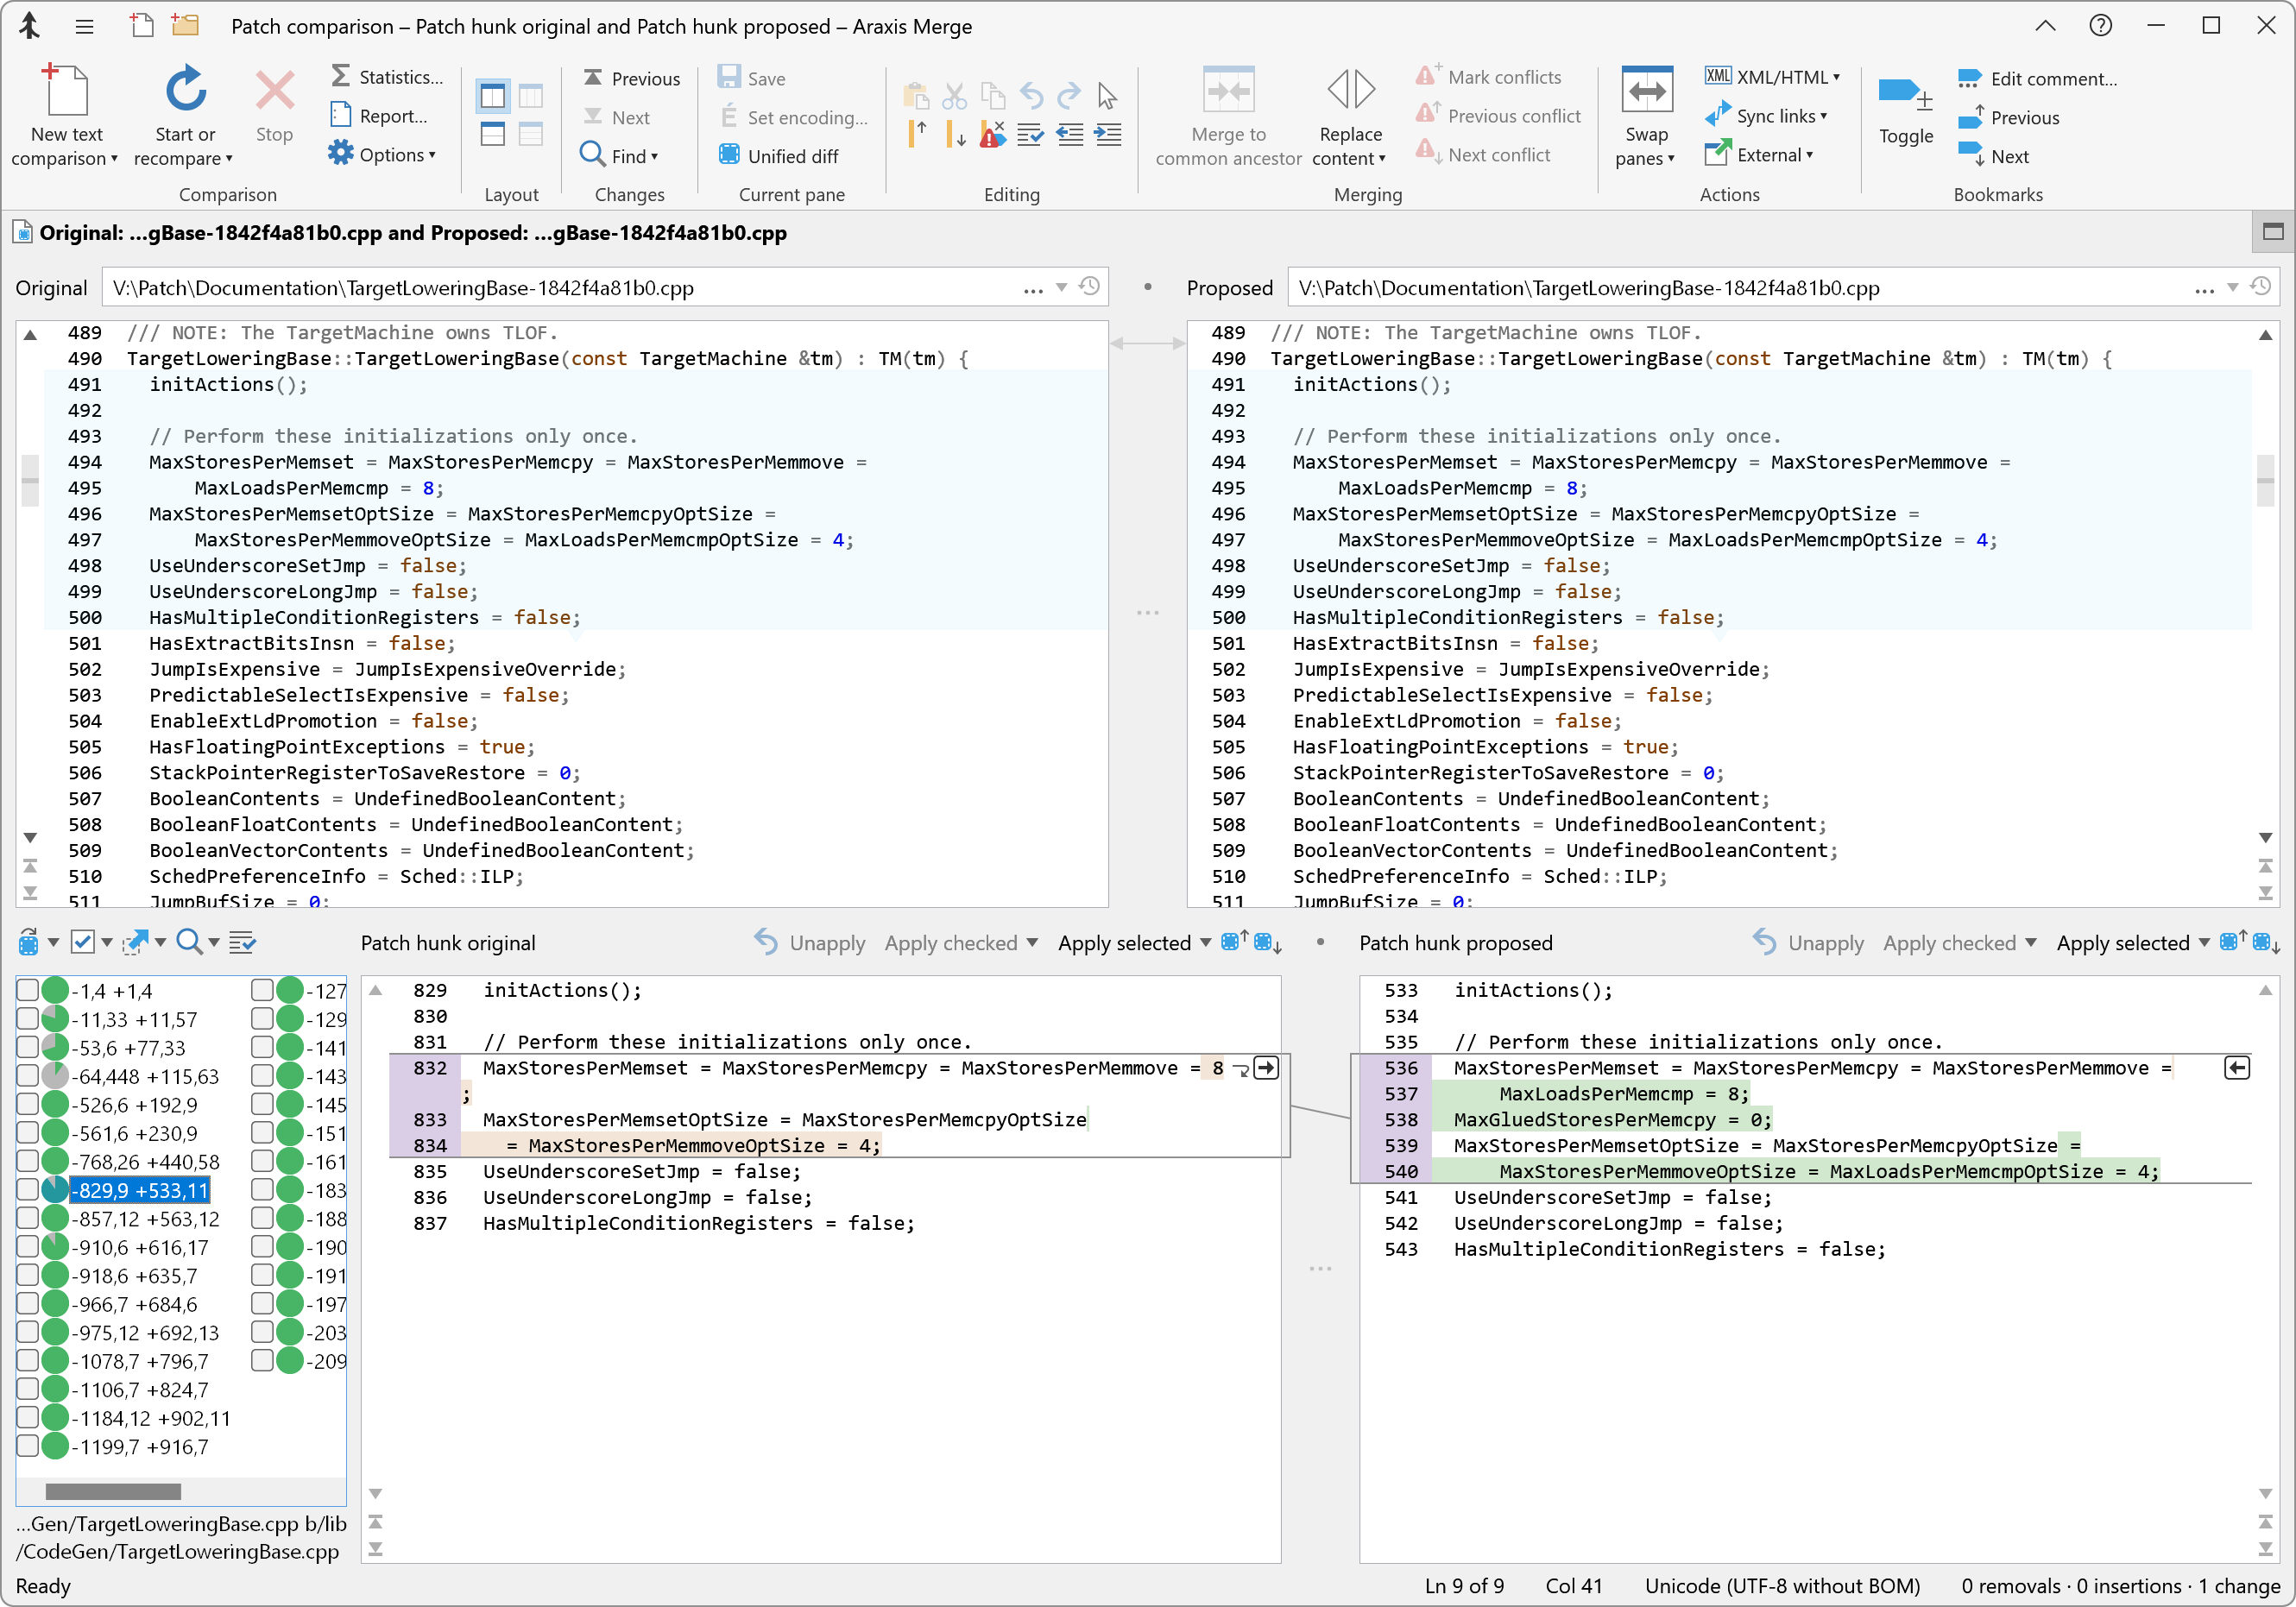
The label for each hunk consists of two pairs of numbers. These reference lines in the base (patch original) and modified (patch proposed) files from which the patch was originally created.
In the screenshot above, the selected patch hunk is labelled -829,9 +533,11. This means that the hunk describes nine lines (including lines of context) beginning at line 829 of the base file from which the patch was created, and 11 lines beginning at line 533 from the modified file.
The file that you are patching may differ from the base file used to create the patch. The line numbers in the hunk label are thus merely indicative; they do not necessarily reflect the hunk’s actual location in the Original or Proposed files.
Previewing a hunk
When a single patch hunk is selected from the hunk list, the two (lower) panes to the right of that list display a text comparison showing the differences between the original and proposed content of the selected hunk; that is, the comparison shows the relevant content of the original and proposed files from which the patch was created. The two panes of the hunk comparison are labelled Patch hunk original and Patch hunk proposed, respectively.
When a hunk is first selected, the comparison data supplied by the patch file is initially used to position linking lines and to determine the highlighting for that hunk’s text comparison display. Merge also starts a background text comparison on the hunk content. The results from that are used as they become available to update the display, and to provide word or character-based highlighting of changes (depending upon the options you have configured for text comparisons). The results of the text comparison are cached in case the hunk is viewed again.
Each hunk’s original content is typically present to at least some extent somewhere in the file being patched. When a single hunk is selected, the hunk’s matched location in the Original and Proposed files is scrolled into view, and also highlighted with a pale-blue overlay. The overlay shows which lines would be replaced if the selected hunk were to be applied to either file.
If multiple hunks are selected or checked in the hunk list, their matched locations in the Original and Proposed files are highlighted with a light grey background. No text comparison of hunk content is shown when multiple hunks are selected.
There may be rare situations in which the automatically determined hunk locations overlap with one another. Manual adjustment of hunk locations (see below) may also cause overlaps. In these cases, the overlapping hunk overlays in the Original and Proposed files will turn pink.
How appropriate hunk locations are automatically found
It is essential to determine the correct location of each hunk’s content in the file being patched so that the changes described by the hunks may be applied to that file in the correct places.
When a patch file is first loaded, Merge therefore works in the background to determine the most likely location – if any – of each hunk’s original content in the Original and Proposed files. This process is usually rapid. However, it can take some time if the file being patched differs from the one used to create the patch.
A progress indicator is shown in the status bar while hunks are being located. The location process can be cancelled (if, for example, it is taking too long) by clicking in either the Original or Proposed file panes and then clicking the ribbon Stop comparison ![]() button.
button.
Because the line numbers contained within the patch file may not match the file being patched, Merge only uses them as a starting point for locating changes. Searches start from the relevant line number indicated by the patch file, working simultaneously upwards and downwards until a match is found.
Merge employs several strategies when attempting to find the location of a hunk within a file.
- It first looks for an exact match of the hunk content within the proposed file. This search occurs quickly.
- If an exact match has not been found, Merge seeks an inexact match, ignoring differences in character case and the quantity of whitespace. This also happens quickly.
- Finally, if a match has still not been located, Merge looks for the best available approximate match, potentially allowing substantial differences (up to 50%) between the content of the patch hunk and the Original and Proposed files. This process can be relatively slow, although Merge endeavours to make optimal use of the available CPU cores.
When a location match is found for a hunk, a confidence-indicator icon is shown next to that hunk in the hunk list. This icon indicates the quality of the location match, based on the degree of correspondence between the hunk’s content and that of the file being searched. A confidence of 0% ![]() indicates that no match could be found, whereas a confidence of 100%
indicates that no match could be found, whereas a confidence of 100% ![]() indicates that an exact match was found. Values in between (10%
indicates that an exact match was found. Values in between (10% ![]() … 90%
… 90% ![]() ) indicate approximate matches of different degrees of closeness. If neither you nor Merge have yet endeavoured to locate a hunk,
) indicate approximate matches of different degrees of closeness. If neither you nor Merge have yet endeavoured to locate a hunk, ![]() is shown in place of the confidence indicator.
is shown in place of the confidence indicator.
Due to the multistage patch location process, confidences may start off low and subsequently improve as additional work is performed using the different strategies.
Manually finding and adjusting hunk locations
You may sometimes wish to choose the search strategy used for particular hunks. Perhaps, for example, you require certainty about the changes to be applied and therefore wish to locate only exact matches.
Alternatively, you may wish Merge to locate, not the hunk’s original content, but its proposed content; this may be the case, for example, if you are seeking to remove one or more of the patch hunk changes from an already patched file.
These and other scenarios are accommodated by initiating a manual search for patch locations in the Proposed file:
- First, select the hunks whose locations you wish to find. (As with any standard Windows list control, Shift-click to extend a selection to a range of items; Ctrl-click to select multiple items; click on the list and press CtrlA to select all items.)
- Next, choose the desired locate command from the
 drop-down menu in the toolbar above the list of hunks.
Merge then endeavours to locate the hunks in the way that you have requested, updating the confidence icons for the selected hunks as work progresses.
If a location for a hunk cannot be determined (for example, if a requested exact match cannot be found), the ![]() icon is shown for that hunk in place of a confidence indicator. That hunk’s location is then considered to be the one specified in the patch file (that is, the line ranges shown in the hunk’s label) unless you subsequently adjust it.
icon is shown for that hunk in place of a confidence indicator. That hunk’s location is then considered to be the one specified in the patch file (that is, the line ranges shown in the hunk’s label) unless you subsequently adjust it.
As mentioned above, the matched locations of hunks that have been checked or selected in the hunk list are indicated in the Original and Proposed files with a grey or blue overlay covering the relevant lines. If desired, this location can be manually adjusted by dragging the arrows at the top and bottom edges of the overlay up or down. Hold Shift while dragging to slide the overlay up or down. The screenshot below shows the bottom edge of the right location overlay being moved.

Applying and editing hunks
Applying one or more hunks
You will typically wish to apply the changes described by each hunk to the Proposed file, though Merge also offers the ability to apply hunks to the Original file.
Merge provides you with the flexibility to review and apply hunks in a variety of ways, to suit whatever you are trying to accomplish. For example, you can:
- review and apply each hunk individually, in turn;
- review multiple hunks, checking the check boxes of the ones you wish to apply in the hunk list and then, when you have finished reviewing, apply the checked hunks to the Proposed or Original files in one go;
- select multiple hunks in the hunk list (using Shift-click to extend a selection to a range of items or Ctrl-click to select multiple items) and apply those selected hunks in one go;
- check hunks in the hunk list that meet specific criteria using the items in the Check patch hunks
 toolbar menu and then apply those hunks in one go;
 - use some combination of the above.
To apply an individual hunk to the Proposed file, first select the hunk in the hunk list. Next, click the Apply selected button above the Patch hunk proposed pane to apply that pane’s content. Alternatively, you can click the Apply selected button in the toolbar above the Patch hunk original pane to apply that pane’s content to the Proposed file.
If you wish to apply a hunk’s original or proposed content to the Original file, use the drop-down menu of the relevant Apply selected toolbar button and choose the Apply selected-hunk original content to Original file or Apply selected-hunk proposed content to Original file item.
Applying a hunk causes the content of the Proposed (or, depending upon the operation you have selected, Original) file to be updated. The comparison of the Proposed and Original files will also update accordingly. The hunk is then marked as resolved (struck-out and greyed) in the changes list.
The Mark selected patch hunks as resolved ![]() toolbar button can be used to toggle the resolved state of selected hunks. Marking hunks as resolved can be useful to keep track of your progress as you review them.
toolbar button can be used to toggle the resolved state of selected hunks. Marking hunks as resolved can be useful to keep track of your progress as you review them.
Having applied a selected hunk, you can quickly move to the next or previous hunk in the hunk list using the Next patch hunk ![]() or Previous patch hunk
or Previous patch hunk ![]() toolbar buttons.
toolbar buttons.
To apply several selected hunks at once, select the hunks in the hunk list and then proceed exactly as you would when applying a single selected hunk. To apply several checked hunks, use the Apply checked toolbar buttons or drop-down menu items. Alternatively, use the items in the Apply checked patch hunks ![]() drop-down menu in the toolbar above the hunk list.
drop-down menu in the toolbar above the hunk list.
Undoing an apply
It is as easy to unapply hunks as it is to apply them. You can therefore treat the initial application of a hunk as a preview, to see how that hunk’s changes appear in context in the file being patched.
If you decide you do not like the results of applying a hunk, use the Unapply ![]() toolbar button to undo the change. You can also click on the modified file and press CtrlZ to undo the change, or use the main ribbon Undo
toolbar button to undo the change. You can also click on the modified file and press CtrlZ to undo the change, or use the main ribbon Undo ![]() and Redo
and Redo ![]() commands to undo and reapply the change.
commands to undo and reapply the change.
The Unapply ![]() button will be disabled should you edit the Original or Proposed files after applying a hunk; the button will re-enable if those edits are first undone.
button will be disabled should you edit the Original or Proposed files after applying a hunk; the button will re-enable if those edits are first undone.
Line endings
Line endings are converted automatically when a hunk is applied. The dominant line-ending within the modified file is used.
Editing
All the file comparison panes within the text-comparison-for-patching tab can be edited. Thus, for example, minor corrections could be made to a hunk prior to its application. Alternatively, you could edit the Proposed file before applying a particular hunk, or perhaps adjust indentation or other formatting after applying a hunk.
It is sometimes desirable to apply only portions of a hunk. This may be achieved by using Copy ![]() (CtrlC) to copy selected hunk content from the hunk preview comparison and Paste
(CtrlC) to copy selected hunk content from the hunk preview comparison and Paste ![]() (CtrlV) to paste it into the Proposed (or perhaps Original) file.
(CtrlV) to paste it into the Proposed (or perhaps Original) file.
If the location of a hunk could not be established correctly within the Proposed file, it is possible that using Copy ![]() and Paste
and Paste ![]() may be a quicker way to apply that hunk than manually adjusting the position of its location overlay.
may be a quicker way to apply that hunk than manually adjusting the position of its location overlay.
Saving the patched file
Once the desired hunks have been applied to the Proposed (or Original) file, the modified file may be saved in the usual way. It may also be desirable to save intermediate progress from time to time.
Applying multiple patches
Once you have successfully applied hunks from one patch file, you can open, review and apply further patch files in turn. (For the various ways you can open a patch file, see Opening a patch file.)