Merge supports folder hierarchy comparison and synchronization, enabling you to compare and merge entire directory trees. This is ideal for detecting changes in different versions of source code or web pages. You can even use the efficient byte-by-byte comparison setting to verify the contents of USB thumb drives or recordable CDs.
 Spending a few moments browsing the Instant Overview of Folder Comparison and Synchronization will help you quickly become familiar with Merge folder comparisons.
Starting a comparison
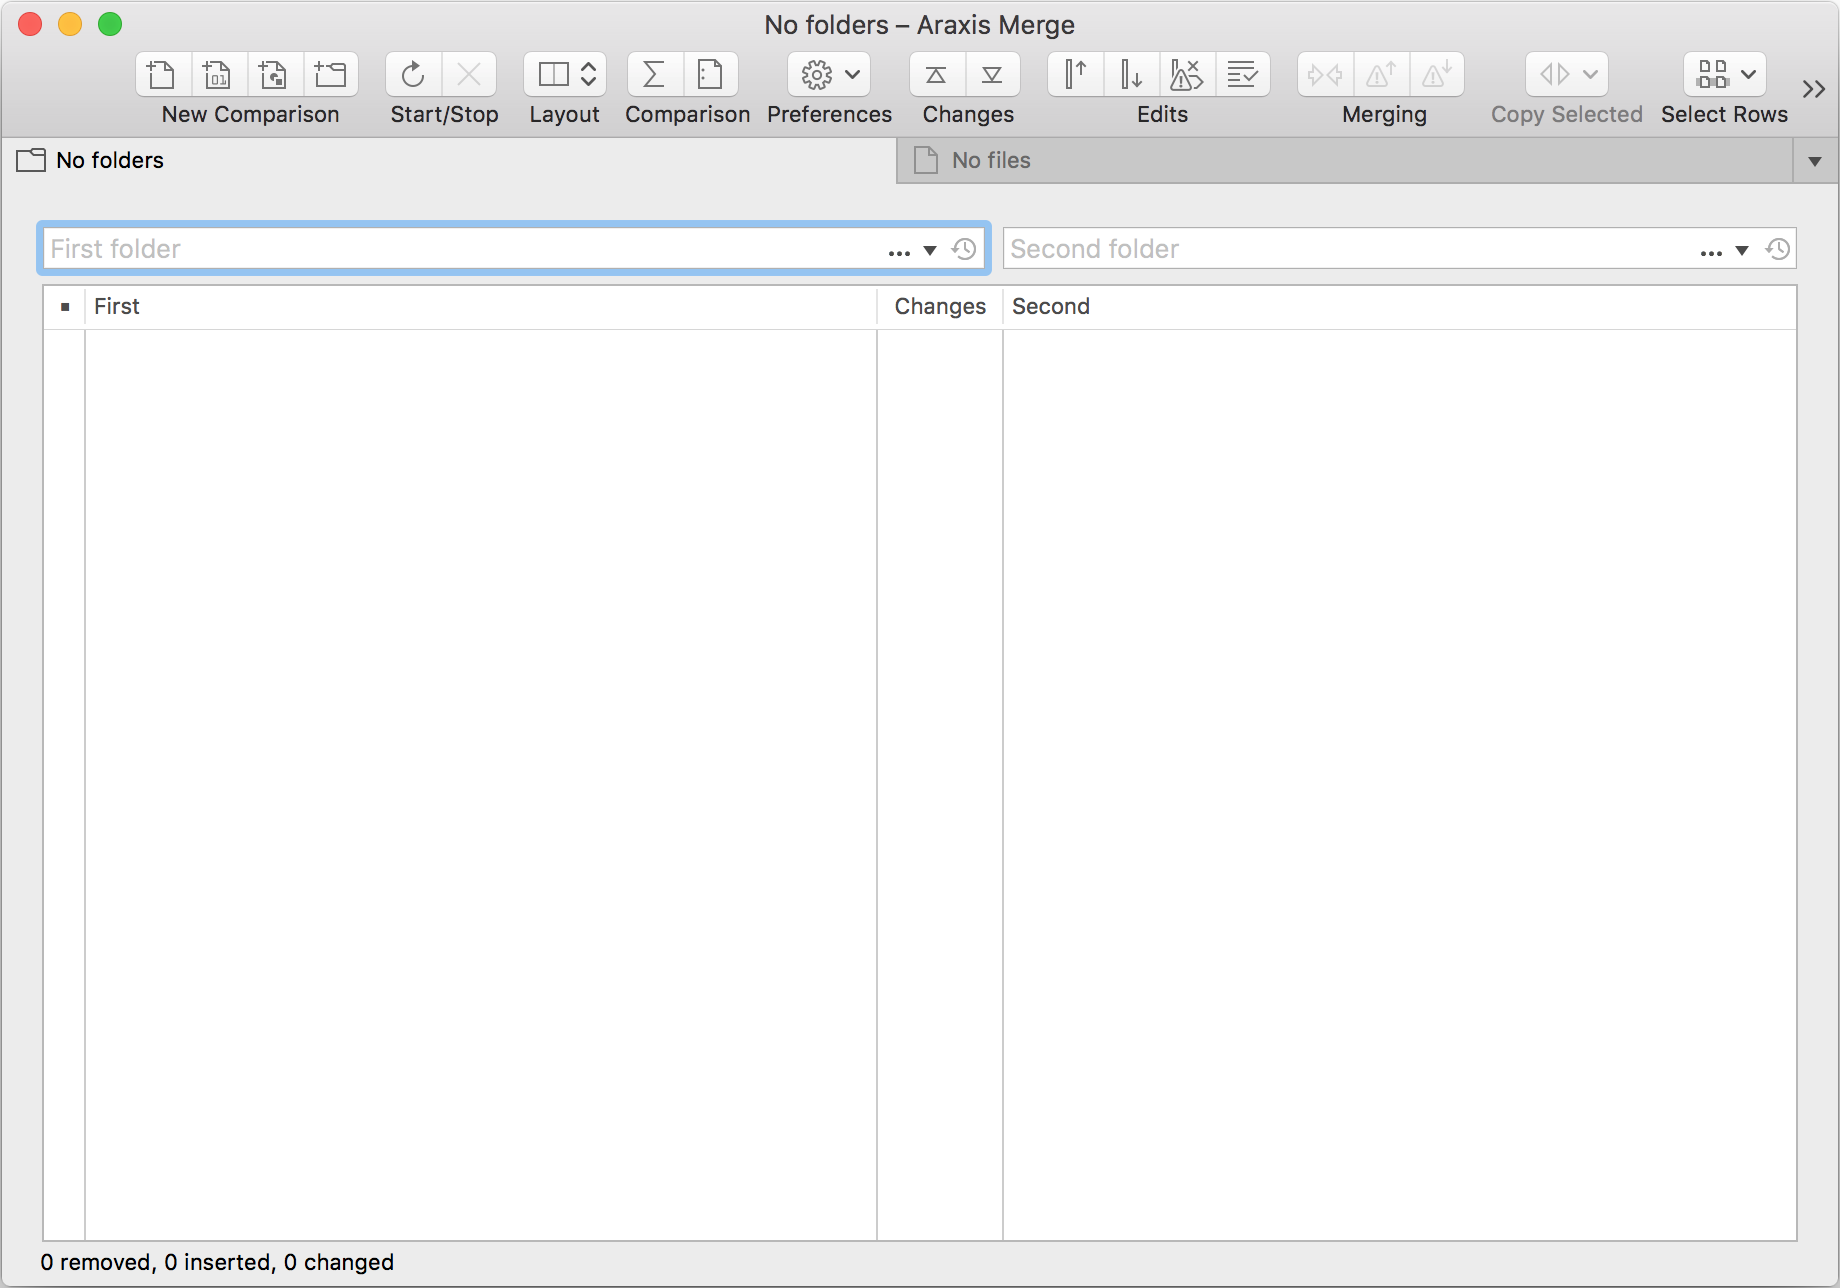
To open a new folder comparison:
- Click the New Folder Comparison
 toolbar button.
 - Or, select the File▸New▸New Folder Comparison menu item.
- Or, press Shift+Cmd+F.
Changing the comparison layout
By default, fresh installations of Merge open folder comparisons with the Two-Way with File Comparison ![]() layout:
layout:

This layout splits the display, with the folder comparison on top and a file comparison for the selected row in the folder comparison underneath. The toolbar shows buttons for either the folder comparison or the file comparison, depending upon which comparison has focus. Click on either of the comparisons to change the focus.
The Two-Way with File Comparison ![]() and Three-Way with File Comparison
and Three-Way with File Comparison ![]() layouts offer a very convenient mechanism for reviewing (and potentially merging) many files in a folder comparison.
layouts offer a very convenient mechanism for reviewing (and potentially merging) many files in a folder comparison.
The rest of this topic focuses upon the folder comparison alone. Thus, if necessary, make sure that the folder comparison has focus and then click the Two-Way Vertical ![]() toolbar button to switch to the two-way, folder-comparison-only layout.
toolbar button to switch to the two-way, folder-comparison-only layout.
The layout of the folder comparison window is very similar to that of the text comparison window.
Specifying the folders to compare
Enter the paths to the folders you want to compare into the entry fields at the top of the window, or use the Browse ![]() and Show history
and Show history ![]() buttons. If there are other versions of the folder named in the entry field available for comparison (e.g. in a Perforce repository), the Versions
buttons. If there are other versions of the folder named in the entry field available for comparison (e.g. in a Perforce repository), the Versions ![]() button displays a list of these other versions. If this button is not enabled, check the settings on the Versions page.
button displays a list of these other versions. If this button is not enabled, check the settings on the Versions page.
You can also drag and drop folders from Finder on to the entry fields in the folder comparison window or on to the folder comparison area itself.
When you have chosen two folders to compare, to perform the comparison:
- click the Start or Recompare
 toolbar button, alternatively press Enter;
 - or, select the File▸Start or Recompare menu item, alternatively press Cmd+R;
- or, drag and drop folders from Finder on to the filename entry fields or on to the file panes.
You do not need to wait for the folder comparison to complete before viewing or using the results of the comparison.
As well as folders on the local disk and network volumes, Merge is also able to directly access and compare folder hierarchies within Perforce and Subversion repositories. See Virtual File System (VFS) Plugins for more details.
Accessing other revisions of a folder with the Versions button
If there are other versions of the folder named in the entry field available for comparison, the Versions ![]() button displays a list of these other versions. You can open the same file or folder in both the left and right comparison panes, then use this button to compare a folder with another revision of itself.
button displays a list of these other versions. You can open the same file or folder in both the left and right comparison panes, then use this button to compare a folder with another revision of itself.
If enabled on the Settings…▸Application▸Versions page, Merge is able to find other versions of a folder from the following sources:
- Subversion repositories. Merge endeavours to find any older versions of the folder you are comparing from the relevant Subversion repository. If a Subversion URI has been specified in the folder name entry field, Merge will search the repository from which it accessed the folder for any older revisions. Otherwise, if a folder has been loaded from the local disk or a network volume and is part of a client workspace, Merge will search the relevant repository for which credentials have been supplied on the Credentials settings page.
If the Versions ![]() button is not enabled, check the relevant settings on the Versions and Credentials pages.
button is not enabled, check the relevant settings on the Versions and Credentials pages.
Three-way folder comparisons
In addition to two-way folder comparisons, the Professional Edition of Merge supports comparisons between three folder hierarchies and automatic folder merging.
The folder comparison display
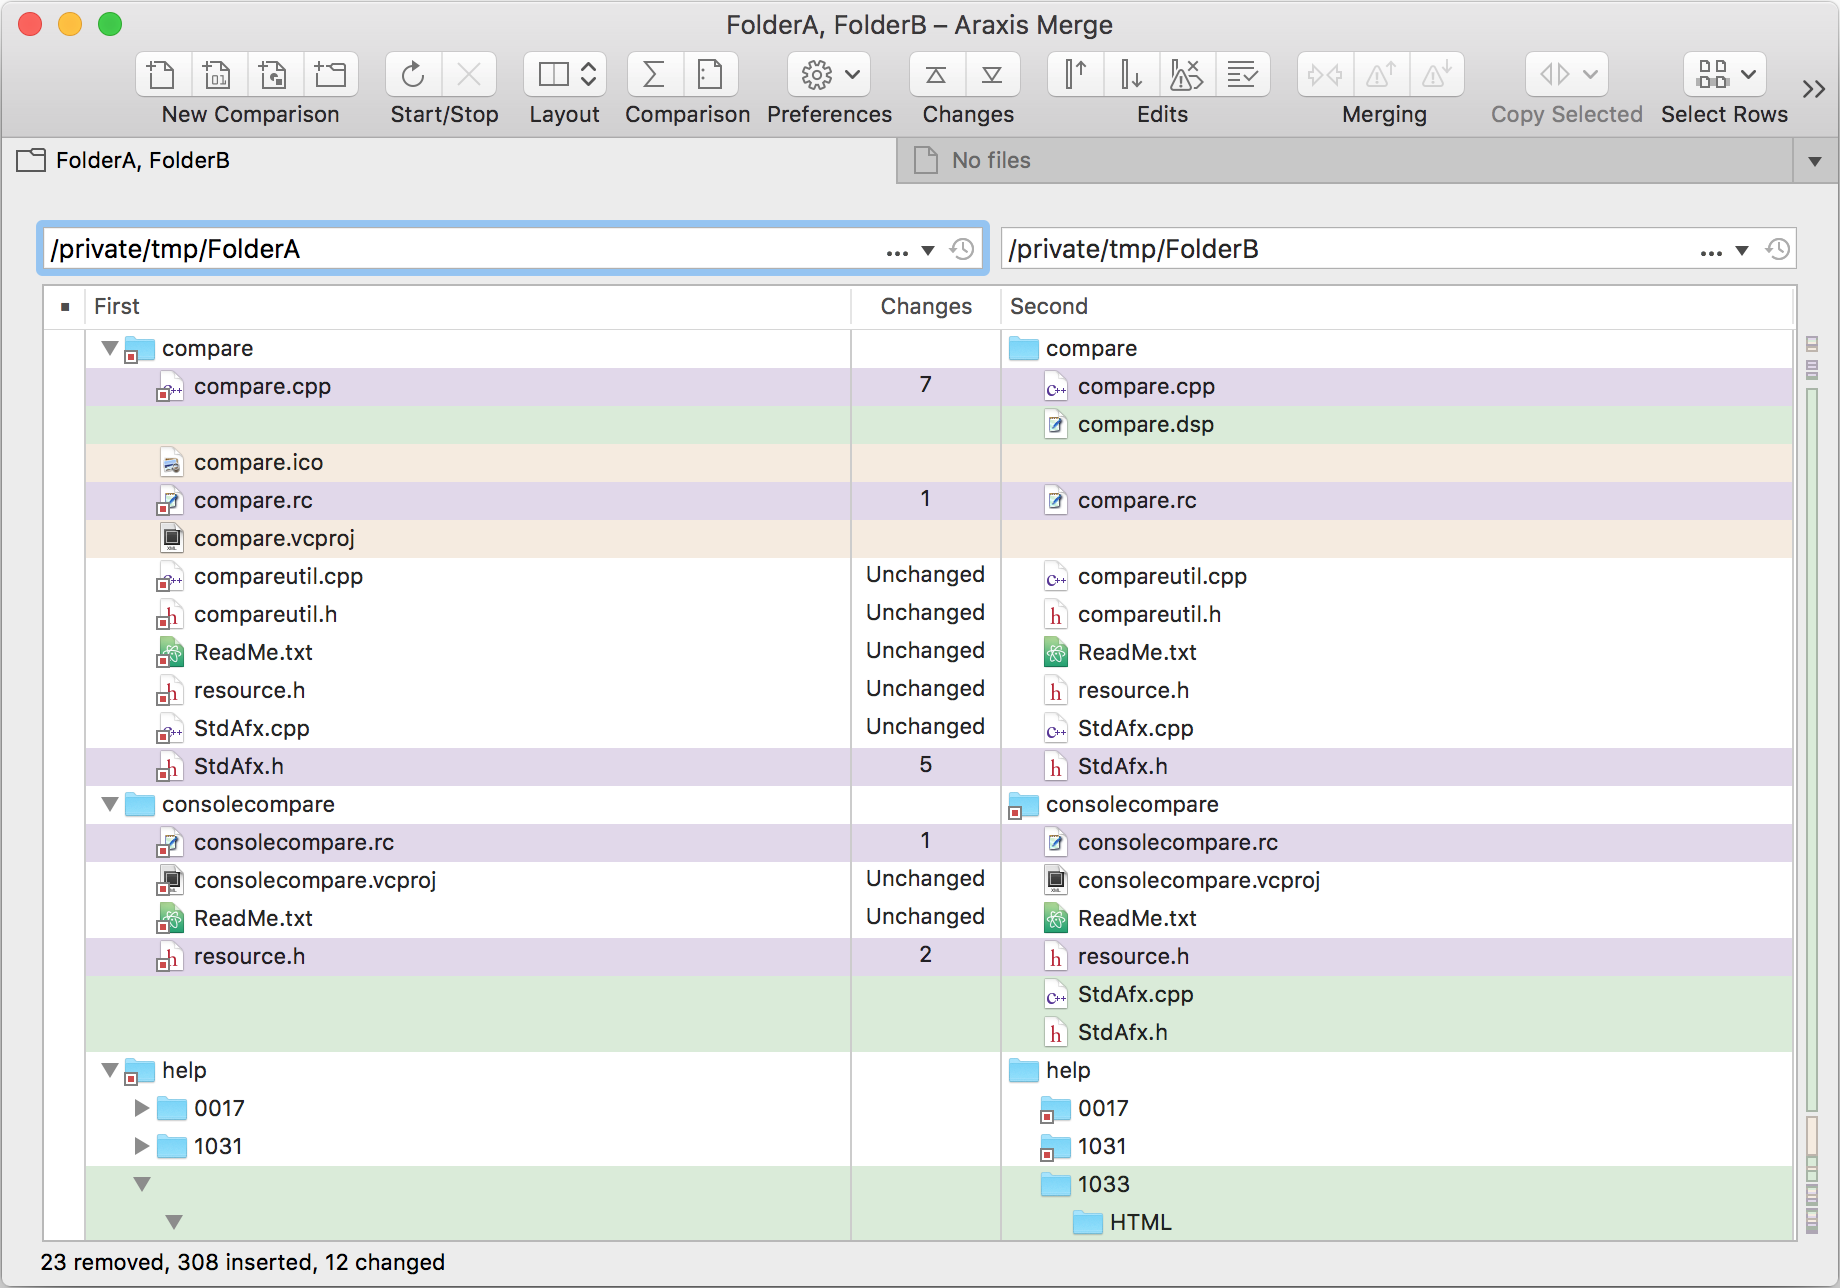
The screenshot above shows the results of a typical comparison between two folders. Background colours are used to indicate the inserted, removed, changed, or unchanged state of each file or folder in the results list. The icon of the newest file in any given row is indicated by a red dot ![]() adornment. You can step between insertions, removals and changes using the Previous Change
adornment. You can step between insertions, removals and changes using the Previous Change ![]() and Next Change
and Next Change ![]() toolbar buttons.
toolbar buttons.
You can adjust the widths of the columns in the results list by dragging the column heading dividers from side to side.
The Fonts/Colours settings page determines the colours used for inserted, removed, changed, and unchanged files and folders.
Right-click a file or folder within the folder comparison results list to display a context menu containing commonly used commands. Some of the available commands will change depending on whether you click an item on the left or right side of the comparison.
Optional columns
Several optional columns can be turned on and off using items in the Settings ![]() toolbar menu.
toolbar menu.
The Changes column is toggled using the Settings ![]() ▸Show Changes Column command. This column indicates the number of changes that have been made between the files in the two adjacent columns. (In some circumstances, the precise number of changes is not calculated and is shown as ≥1. For more information, please see the folder comparison Method settings page topic.) For three-way folder comparisons, a third Changes column indicates the number of changes between the first and third folder hierarchies. Other symbols can appear in the Changes column to indicate errors encountered while processing the files in a row, or to indicate that a row is filtered out by settings. In either case, hover the pointer over the symbol for more information about what it represents.
▸Show Changes Column command. This column indicates the number of changes that have been made between the files in the two adjacent columns. (In some circumstances, the precise number of changes is not calculated and is shown as ≥1. For more information, please see the folder comparison Method settings page topic.) For three-way folder comparisons, a third Changes column indicates the number of changes between the first and third folder hierarchies. Other symbols can appear in the Changes column to indicate errors encountered while processing the files in a row, or to indicate that a row is filtered out by settings. In either case, hover the pointer over the symbol for more information about what it represents.
Use the Settings ![]() ▸Show Timestamps and Sizes command to toggle the display of file timestamps and sizes.
▸Show Timestamps and Sizes command to toggle the display of file timestamps and sizes.
Selecting files and folders
- Use the menu items in the Select Rows
 toolbar button or Actions▸Select Rows menu to select files and folders based on criteria you specify;
 - Click on an item to select it and deselect any other selected items;
- Hold down Cmd and click on an item to add or remove it from the current selection;
- Hold down Shift and click on an item to extend the selection to that item;
- Press Cmd+A to select all the files in the results list;
- Use the controls in the Folder Comparison Row Selection window to select files and folders. This window can be shown by clicking the Select Rows toolbar button and selecting Select by State…. You can also select the Actions▸Select Rows▸Select by State… menu item.
Launching file comparisons
The results list can be used to launch file comparison windows for selected rows of files. Please see the Launching File Comparisons topic for more information.
Launching folder comparisons
You can double click any row containing folders to open a separate folder comparison window to compare those folders.
Showing a file comparison for the currently selected folder comparison row
Use the Two-Way with File Comparison ![]() or Three-Way with File Comparison
or Three-Way with File Comparison ![]() toolbar buttons to split the display horizontally, with a file comparison shown beneath the folder comparison. Click a row in the folder comparison to compare that row’s files in the file comparison below.
toolbar buttons to split the display horizontally, with a file comparison shown beneath the folder comparison. Click a row in the folder comparison to compare that row’s files in the file comparison below.
Use the Two-Way Vertical ![]() or Three-Way Vertical
or Three-Way Vertical ![]() toolbar buttons to turn off the file comparison display.
toolbar buttons to turn off the file comparison display.
Deleting files and folders
To delete items in the folder comparison window, select the files and folders that you want to remove, right-click, and use the Delete Selected Items in Column item in the context menu. You can undo a deletion by restoring the deleted files and folders from the macOS Trash.
Alternatively, the Actions▸Delete Selected menu item deletes all two/three way selected items, not just those in the column.
Some files and folders (particularly those located on network volumes) cannot be sent to the Trash. Merge will let you know if this occurs and will provide you with an opportunity to delete the files and folders permanently.
Hiding files and folders
You can hide files and folders in the results list by selecting them and then clicking the Hide Reveal ![]() toolbar button and selecting Hide/Reveal Selected. You can also select the Actions▸Hide/Reveal▸Hide/Reveal Selected menu item, or press Ctrl+Cmd+H. You can later show all hidden items using the Show Hidden Items menu item on the same menus.
toolbar button and selecting Hide/Reveal Selected. You can also select the Actions▸Hide/Reveal▸Hide/Reveal Selected menu item, or press Ctrl+Cmd+H. You can later show all hidden items using the Show Hidden Items menu item on the same menus.
Note that hidden items are not excluded from subsequent folder comparison operations. They will still be compared, but will not appear in the results list until you use the Show Hidden Items menu item.
Excluding files and folders from a comparison
You can specify wildcard expressions to exclude files and folders from the folder comparison. Files and folders that are excluded in this way will not be compared and will not appear in the results list even when you choose the Show Hidden Items menu item. You can use this feature to exclude large binary files or entire folder hierarchies from the comparison.
Bookmarks and comments
As you are comparing or editing folders, you may want to set bookmarks to enable you to return to locations of interest later on. Click the Bookmarks ![]() toolbar button and select Toggle Bookmark, to toggle a bookmark on or off on the current line. You can also select the Edit▸Bookmarks▸Toggle Bookmark menu item, or press Cmd+F2.
toolbar button and select Toggle Bookmark, to toggle a bookmark on or off on the current line. You can also select the Edit▸Bookmarks▸Toggle Bookmark menu item, or press Cmd+F2.
To navigate between bookmarks, click the Bookmarks ![]() button and select Next Bookmark or Previous Bookmark. You can also select Next Bookmark or Previous Bookmark from the Edit▸Bookmarks menu, or press F2 or Shift+F2.
button and select Next Bookmark or Previous Bookmark. You can also select Next Bookmark or Previous Bookmark from the Edit▸Bookmarks menu, or press F2 or Shift+F2.
Comments can be added to bookmarks, making it easy to note important information or to record a question. To edit a bookmark’s comment, click the Bookmarks ![]() toolbar button and select Edit Comment…. You can also select the Edit▸Bookmarks▸Edit Comment… menu item, or right-click the bookmark and choose the Edit Comment… menu item. Bookmark comments are shown as tooltips when you hover the mouse pointer over a bookmark.
toolbar button and select Edit Comment…. You can also select the Edit▸Bookmarks▸Edit Comment… menu item, or right-click the bookmark and choose the Edit Comment… menu item. Bookmark comments are shown as tooltips when you hover the mouse pointer over a bookmark.
Bookmarks and comments are included when you save a comparison for archival or team collaboration. Bookmark comments are also shown in HTML comparison reports. They are therefore a useful tool for asking questions or making notes in a comparison that will later be emailed to other team members for review.
Customizing folder comparisons
There is a variety of settings that can be adjusted to change the way that Merge performs folder comparisons. These are discussed in the Settings topic.